
So it all started when I tried to email a company.
The battery was a 10S2P lithium ion battery with 8.5 Ah that cost about $255 (these values will be explained in a future post). This seemed reasonable to me, but left me with several questions.
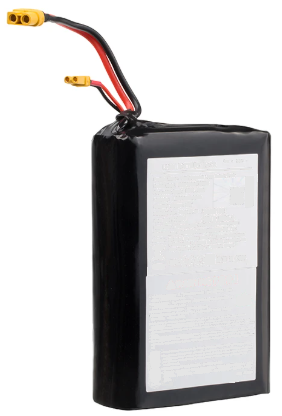
They claimed it would give a range of 25-30km but didn’t put this number in any context. No information on maximum discharge current. No idea on whether it included a BMS or not. Zero pack dimensions given. The only hint of the cells used were the brand names of the companies that made them. And my personal favorite, a mysterious second output wire that they gave no information on.
As someone who hesitates to jump into things before they understand the situation, I decided to shoot them an email to try to figure these things out. Unfortunately, after my second followup email I decided to go my own way.
Time to find a different option.
Research.
To make an educated purchasing choice I knew I would have to do substantial research. While I understood how batteries worked on a surface level, I wanted to make sure I was following safe practice and buying what I needed. I figured a good place to start would be the DIY community, and I immediately found a great book called DIY Lithium Batteries: How To Build Your Own Battery Packs and proceeded to read the whole thing.
Having read that book I could only recommend it. For people looking for an easy read and insight into battery development, this book is a must. Even if you’re just interested in how to use the pre-built battery packs you’ve purchased, I suspect it could be useful for general safety and learning good charging and discharging practices.
Once I read the book, the idea of buying a battery was losing favor. Despite it’s convenience and the reputability of some manufacturers, I figured I could learn more doing it myself. Building my own battery pack to fit the needs of my board sounded really appealing, so my next step was into the DIY electric longboard community.
After a few days in the many rabbit holes of the eSk8 forum, I felt much more comfortable building a battery pack from the ground up. I had seen some beautiful designs, and some very scary looking designs. Here is a particularly scary design I remember seeing on there…
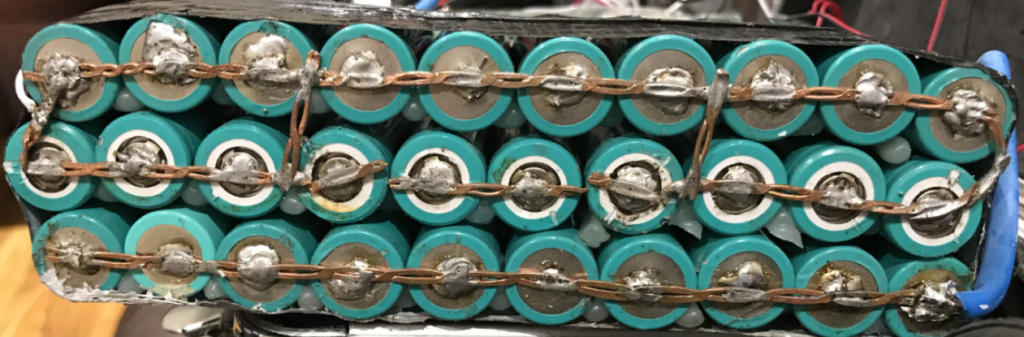
I think the design above had failed, likely due to the highly ridged construction and the constant vibration from riding. Poor thing probably broke from fatigue pretty fast all things considered.
Action.
Once I had begun to feel confident about buying things I needed to form a plan. Since I was planning on building my own battery pack, how was I going to connect the cells? Was I going to buy the vruzend no-weld battery pack building kit? Was I going to buy a cheap battery spot welder? What about making one from an old microwave transformer?
Other than the fact that the last of those things physically gives me shivers (typical microwave transformers are on average ~2200 volts, much higher than I am comfortable working with), I figured I would be able to find a safe-ish solution. Unfortunately I heard too many things about the cheap spot welders giving up on the people who bought them, so I decided to go a totally different direction. What about using one that’s powered with a car battery?
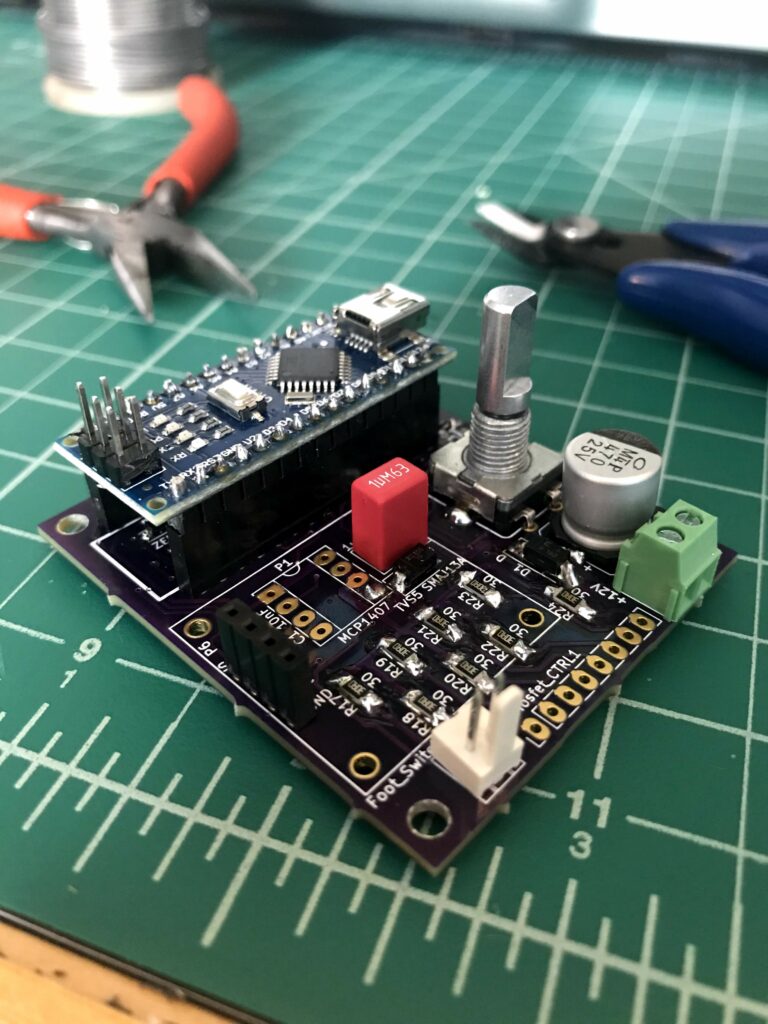
This avoids two things: working with mains voltage (what you get from wall plugs), and spending money on lots of repairs or replacements for poor quality parts. I was especially happy to find that someone had already made an open source battery powered spot welder run by an Arduino Nano. The link above is to the person’s GitHub, but they also sell it for relatively cheap on their website. The design seemed reputable, so I started collecting the components for it. I figured it would give me an opportunity to start learning the basics of PCB development and SMD (surface-mount device) soldering techniques.
Purchasing and Soldering
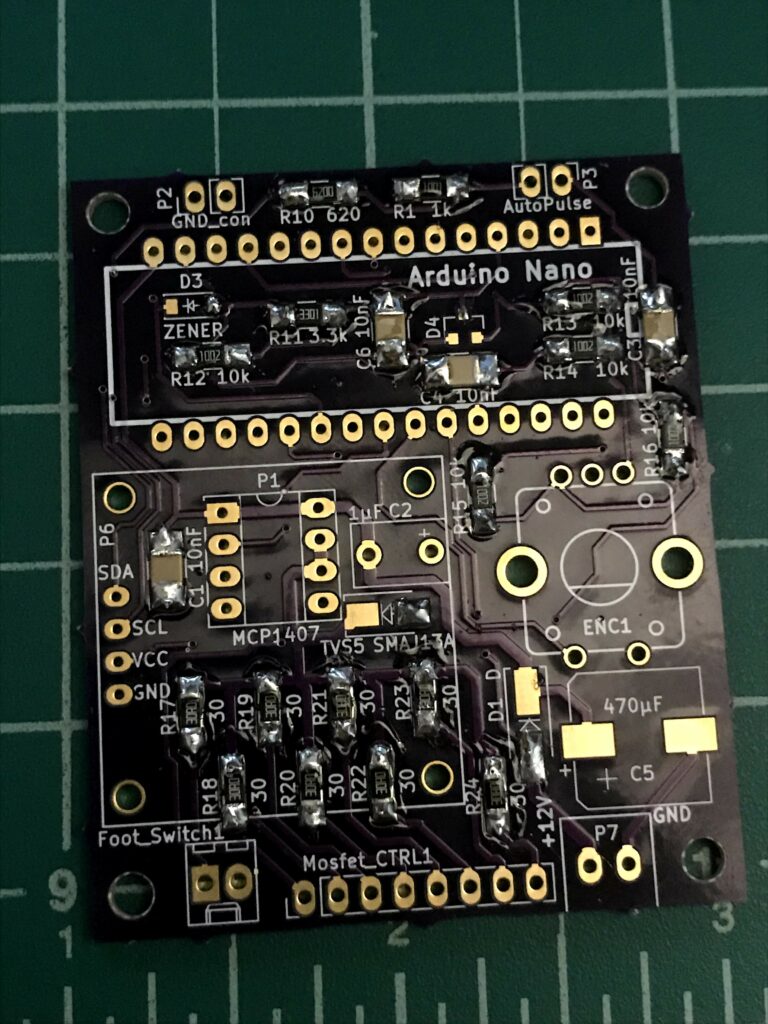
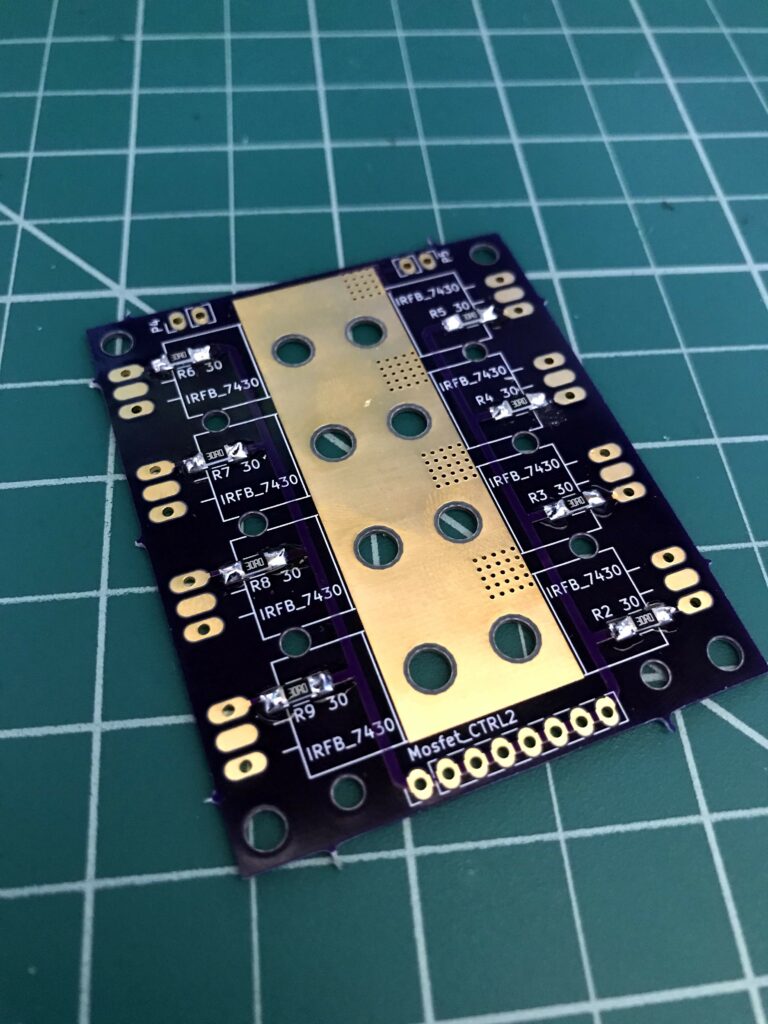
Since the welder required a few custom PCBs, I set up an order with OSHPARK. While their price is higher per PCB than JLCPCB, the shipping cost from JLCPCB made the total cost comparable. Because of this, I ended up going with OSHPARK due to their reputability and quick shipping times. My experience was remarkably painless for my first ever PCB order, and after a couple weeks I had both of the boards.
On the day I ordered my parts from OSHPARK, I ordered the board components from Mouser and Banggood. Despite me getting all of my components from Mouser the day after (I am very impressed with the speed of their shipping) I’m still waiting for a few components that were sent via ocean shipping from Banggood. The main holdup is for the OLED that the spot welder uses as a display.
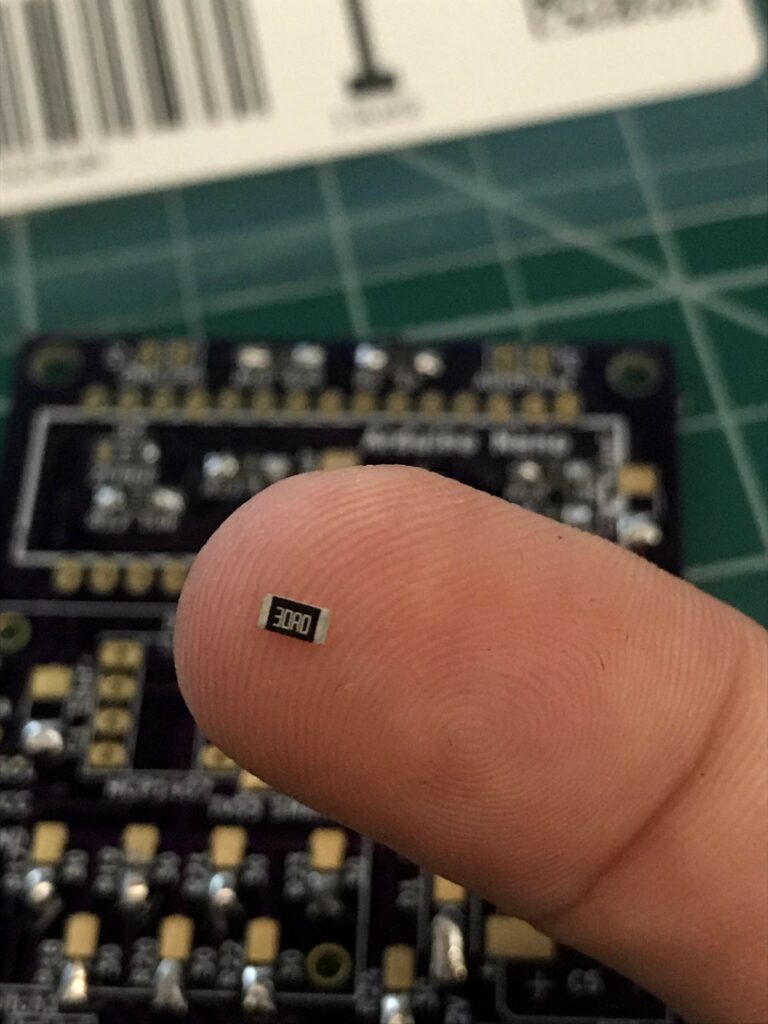
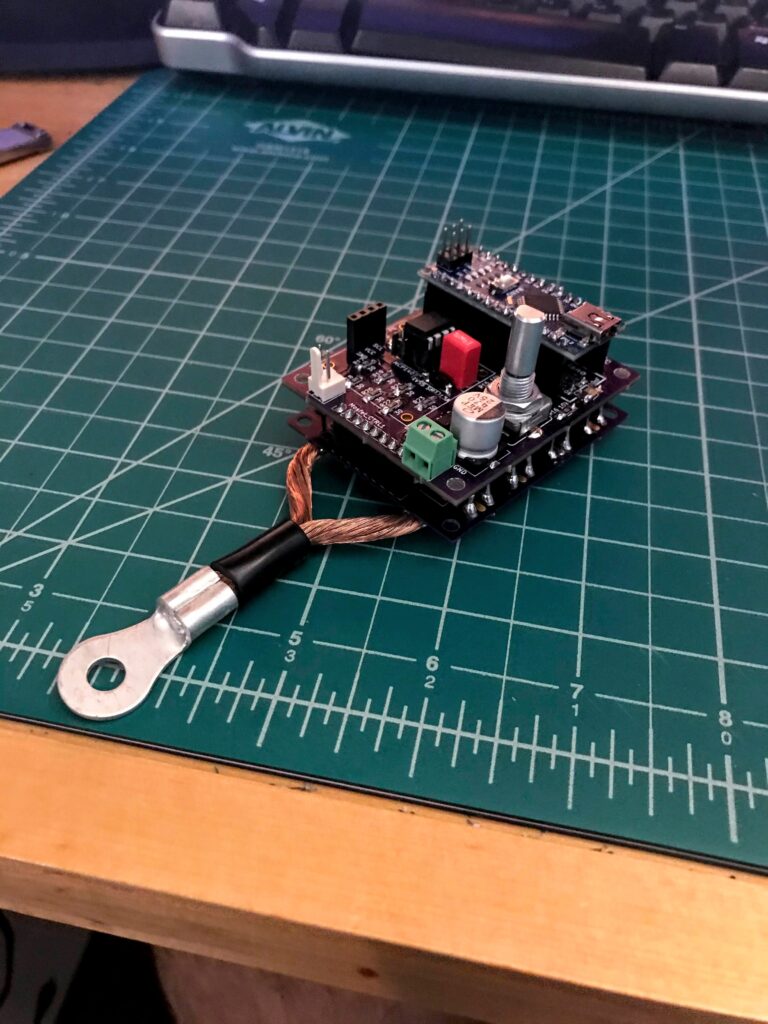
What is important is that I have been prepping and have most of the components already soldered/mounted.

So What’s Happening?
And that’s where I am now…. waiting for shipping. I probably should have upgraded my shipping, but if I had done that, there is no way I could have properly focused on the 180 page report that was due just a few days ago… It sounds pretty bad because admittedly it was, but there is a great satisfaction that I get when it comes to putting in a lot of effort into a project. I suspect it will feel the same way once I finish this and have something that works. I can’t wait to zap my first batteries!
2 Thoughts to “Battery Time.”